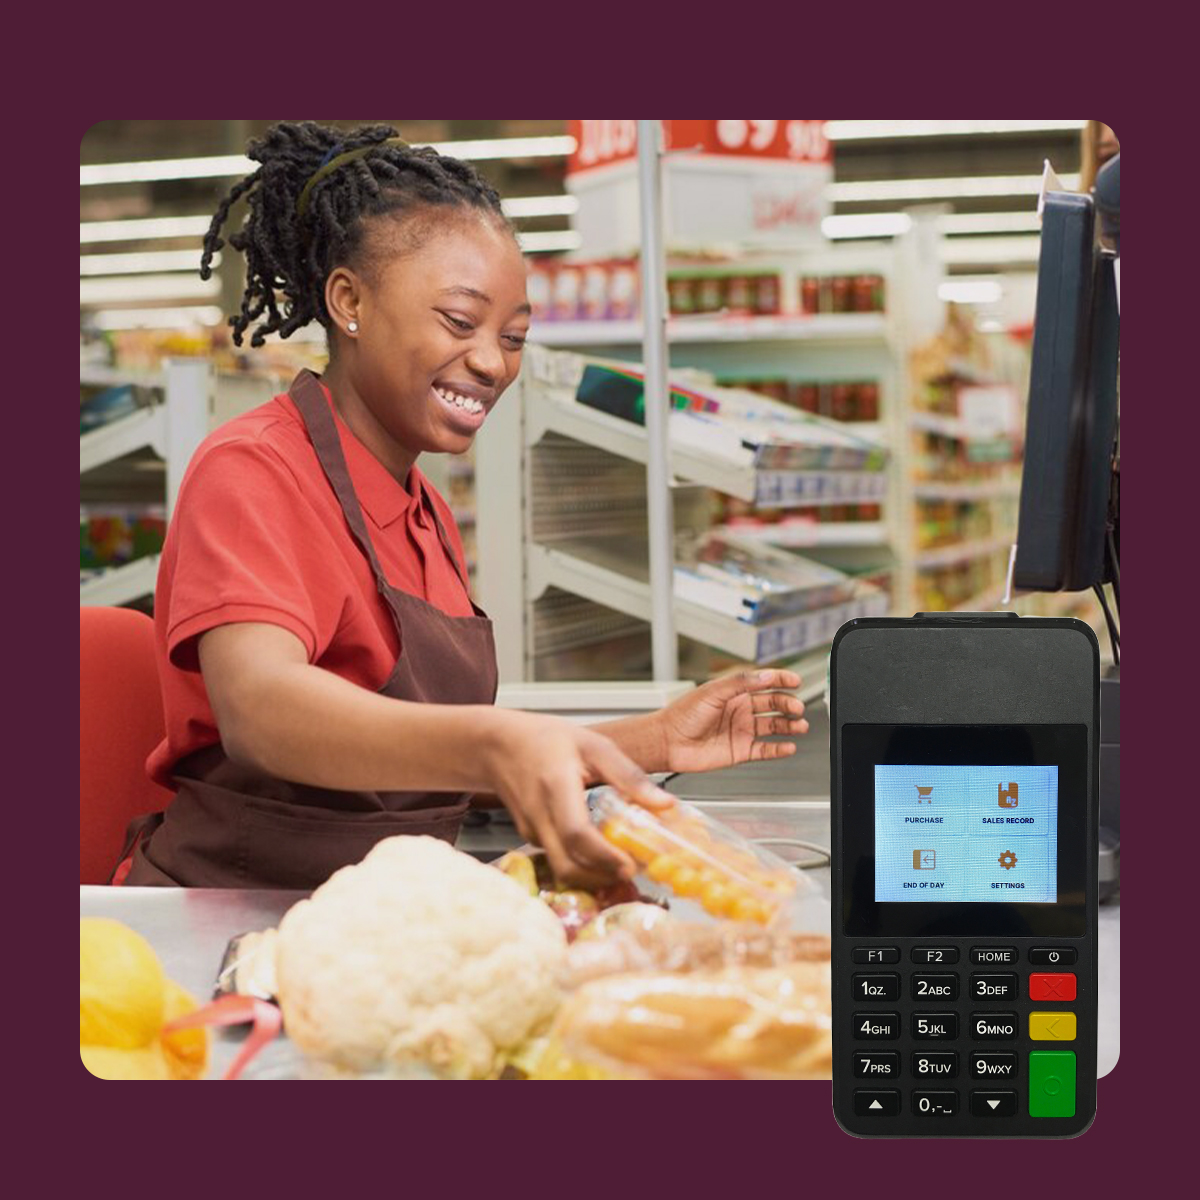
Ever since the Central Bank of Nigeria introduced the POS system in 2012 to promote its cashless policy, the POS has been widely accepted by businesses and merchants, some of them including agent bankers, supermarkets, restaurants, stores and hospitals.
POS terminals are a convenient and secure way to accept payments from your customers using debit and credit cards. Whether making withdrawals from an agent or receiving paying as a business, they are an efficient way to engage customers and deliver exceptional customer service.
If you want to accept card payments for your business or learn the process involved in getting a POS, here are the steps you’ll need to follow:
Step 1: Create a merchant account and log in
Enter the required information, and your merchant account will be created for you immediately. You will also need to add a form of identification and business documentation. Click the link to create your account here.
Step 2: Request for a Paycliq POS terminal
After opening your account, you can request a POS terminal. Once you do, your POS will be delivered within 24-72 hours. It is also available for pickup 12 hours after making your request.
Step 3: Set up your POS
To connect your POS to your business, you need to connect it to your WIFI/internet or phone number.
Step 4: Accept payments
You can now accept payments from your customers with debit and credit cards.
Required documents to get a Paycliq POS
- Bank Identification Number (BVN)
- A form of identification (e.g. Voter’s card, NIN, Driver’s License and International Passport)
- A passport picture
- Business documentation (business name, email, phone number, address, etc.)
POS terminals have contributed to a shift in cashless transactions. With more customers using transfers, debit cards and credit cards, they offer a convenient way to accept payments.


What do you think?
It is nice to know your opinion. Leave a comment.